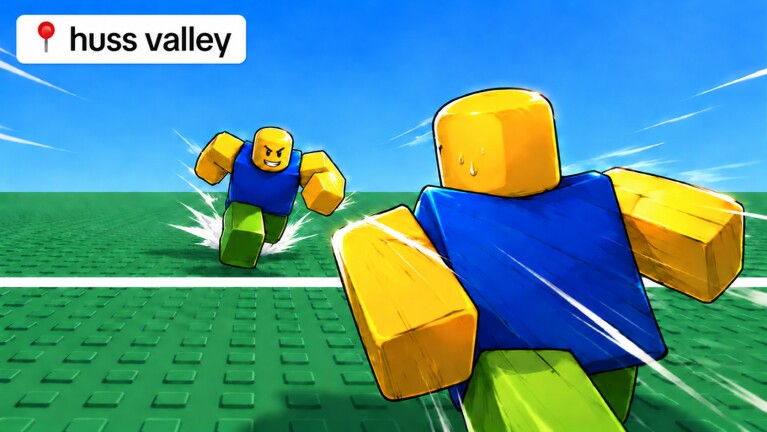
huss valley mapRoblox · 2026-10-05 核对
Huss Valley Map: Reading the Arena Like a Runner
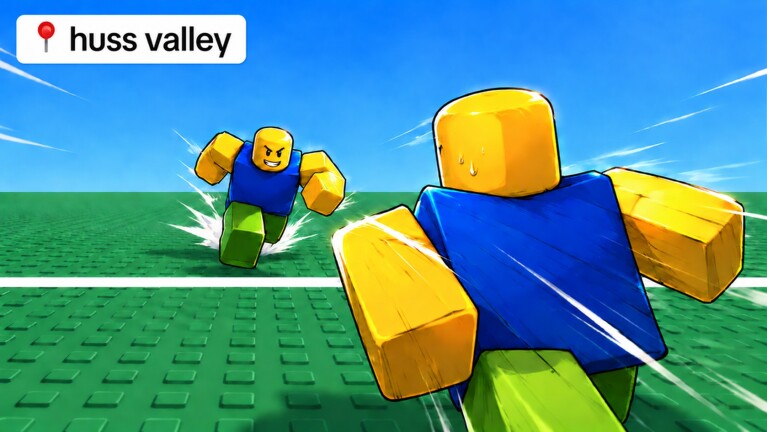
The Huss Valley map is not a sprawling town or a maze. It is a single long rectangle of grass with a line at each end, and that simplicity is the whole design. There is nowhere to hide, no buildings to duck behind and no shortcuts. Every round is decided by movement, timing and where players choose to run on an open field. This page breaks the arena into zones and explains how Runners and Chasers should use each one.
If you were expecting a big explorable world with landmarks, manors and secret rooms, you are probably thinking of Escape Huss Valley, a different Roblox game. The Huss Valley Official tag game is deliberately bare.
The layout in plain terms
- Shape: a rectangular field, longer than it is wide.
- Surface: flat green grass with the classic Roblox studded texture, visible in the official thumbnail.
- Lines: a white start line near one end and a finish line near the other. Runners cross from one to the other.
- Boundaries: the long sides of the field. Running near them limits your escape options.
- Pickups: Gems that appear on the field and can be collected by Runners during a round.
The developer has not published dimensions, and we could not measure the field in studs, so we will not give you a length. What matters is the proportion: it is long enough that you cannot sprint across before a Chaser reaches you, and wide enough that a single Chaser cannot cover both sides at once.
Zone one: the start line
This is where Runners gather between crossings. It is the safest place on the Huss Valley map, but staying there too long isolates you. When the group leaves, the Chaser's attention spreads; when you leave alone afterward, it focuses on you.
Use the start line to read the field. Count the Chasers, note which side they favor, and pick your lane before you move.
Zone two: the near third
The first third of the field is where Runners build speed. Because movement is momentum-based, you need distance to reach top speed. Do not waste it by zigzagging immediately. Run a gentle angle, gather speed, and save your dashes for the middle.
Chasers rarely wait here early in a match, because it gives Runners too much room to react. In late rounds, with many Chasers, one may push up into this zone to catch people as they leave.
Zone three: the middle
The middle third is where most catches happen. Chasers patrol it because every Runner must pass through. As a Runner, this is where your dashes, stops and abilities belong.
Split the width into three lanes in your head: left, center and right. The center is the shortest route but the most watched. The side lanes are less contested but closer to the boundary, which removes one dash direction. Most experienced Runners take the lane one step in from whichever side has fewer Chasers.
Zone four: the far third and finish line
The final stretch is usually safe early in a match, but late rounds often have Chasers stationed near the finish, waiting for Runners who relax too soon. Keep moving with intent until you are over the line.
Once you cross, you are safe for that crossing. Your next job is to watch the remaining Runners and, if it is safe, move back to revive anyone downed near the line.
Gem pickups on the Huss Valley map
Gems scattered on the field are free income for Runners, separate from the end-of-match reward. We could not confirm a fixed spawn pattern, so treat them as appearing in varied spots across the arena.
Rules for collecting them:
- Take Gems on your path or one sidestep off it.
- Never detour toward a Gem in the middle third if a Chaser is within a few strides.
- Early rounds, with one Chaser, are the best time to farm.
- Late rounds, with many Chasers, are for surviving. Ignore Gems unless they are directly ahead.
How Chasers use the map
A Chaser's best position is the middle third, slightly toward whichever side Runners favor. From there, any Runner has to come to you. Good Chasers also:
- face the start line, so they can see Runners leave;
- stand still until a target commits, keeping their full acceleration available;
- use the boundaries to trap Runners who run along the edge;
- spread out across the width when there are several Chasers, so no lane is free.
Rocket Shoes reward that standing-still style, since they dash from a standstill. Rufus's Leash rewards Chasers who line up straight with a Runner's path.
Huss Valley map and server size
A full 30-player server makes the field feel crowded. Runners bump into each other, and lanes fill quickly. In small servers, the field feels huge, and each Runner has more space but also more exposure. Adjust your lane choice to the crowd: in full servers, follow open space; in small ones, follow other Runners.
Reading the field from the Chaser line
Even as a Runner, it helps to picture the field from the Chaser's position. From the middle, a Chaser sees a wide line of Runners leaving the start. Anyone in the center of the group is hard to reach without passing others first; anyone on the end of the line is exposed on one side. A Chaser also sees which Runners slow down to pick up Gems, which ones hesitate at the line and which ones run straight. Those are the targets.
So the map lesson is simple: avoid being the most visible shape on the field. Do not be the first out, the last out, the Runner on the far edge, or the one stopping for a pickup in front of a Chaser. Blend into the middle of the moving group until you have a clear lane.
Using the finish line as a safe base
Once you cross, you are standing in the safest area for that crossing. Use it. Watch the remaining Runners, spot any downed teammates within a short run of the line, and decide quickly whether a revive is realistic. A revive that starts from the finish line has a short return trip, which makes it much safer than one in the middle of the field. If the downed player is deep in the middle third with Chasers nearby, let them go.
Is there more than one map?
We have not seen evidence of map rotation or alternate arenas. All written guides and the official art show the same green field. If the developer adds new arenas in an update, the lane-and-zone approach still applies to any open field, but check whether new maps add obstacles.
Quick-reference checklist
- Read the field from the start line before moving.
- Build speed in the near third.
- Use dashes and abilities in the middle third.
- Choose the lane one step in from the emptiest side.
- Grab Gems only on safe paths.
- Keep moving until you are past the finish.
The Huss Valley map is simple by design, which means mastery comes from small habits. Learn the zones, and every crossing becomes a set of predictable choices. For more on movement, see the running mechanics page, and for full survival tactics, the Runner survival plan.